Fundamental Thermodynamics Group Facilities

The Pressure & Vacuum facilities are located in the NIST Advanced Measurement Laboratory (AML). The facility (pictured right) consists of five buildings housing both laboratory and office space. Two of the buildings (containing both the Vacuum and Low pressure laboratories) are located completely underground. Additionally, the group maintains laboratory space in the NIST Metrology building.
Vacuum Laboratory
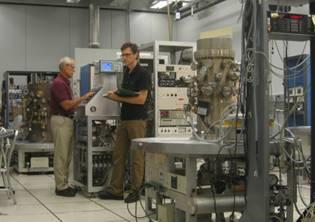
This laboratory houses apparatus for research and calibration at pressures below 1 Pa. Key equipment consists of:
- Two flow meters for small gas flows
- Vacuum chamber for calibrations of ion gauges
- Chamber for calibrations of spinning rotor gauges
- Chamber used for research projects
- Primary leak standard
- Leak comparison apparatus
A 1-meter space under the floor holds electrical cables and vacuum lines that connect the facilities to forepumps in the service galley. Each apparatus is supported on an individual concrete pier.
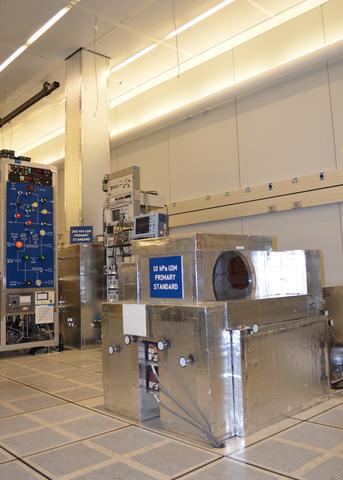
Low Pressure Laboratory
NIST maintains best-in-the-world primary standard pressure measurement capabilities for pressures spanning the range of 0.01 Pa to 360 kPa through the operation of liquid-column manometers located in the low pressure laboratory. Key equipment consists of:
- 360kPa 3-meter Mercury Manometer
- 130kPa 1-meter Mercury Manometer
- 140Pa Oil Manometer
- 13kPa Differential Mercury Manometer
These manometers are operationally complex, requiring accurate determination of temperature, density, gravity, speed of sound, and column height. To improve measurement accuracy, the Low pressure laboratory was specially designed to house these manometers. Special pillars and a raised access floor are implemented to reduce vibration effects. The lab also has a double-walled design with a special air handling system able to control air temperature to within 0.05 K. Gravity was measured by the US Geological Survey to better than one part in 106.
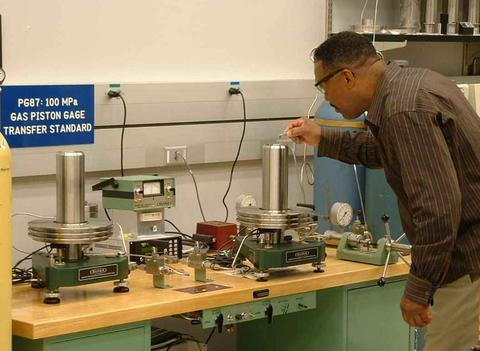
Piston Gauge Calibration Laboratory
This laboratory houses apparatus for calibration of gas and oil piston gauges. Key equipment consists of:
- Absolute Mode Gas Piston Gauge Calibration Assembly
- Gauge Mode Gas Piston Gauge Calibration Assembly
- High Pressure Gas Piston Gauge Calibration Assembly
- 30MPa Oil Piston Gauge Calibration Assembly
- 140MPa Oil Piston Gauge Calibration Assembly
- 280MPa Oil Piston Gauge Calibration Assembly
Piston gauges are used to calibrate other piston gauges and pressure sensing devices. We use gas piston gauges from 10 kPa to 100 MPa, and oil piston gauges from 1 MPa to 280 MPa. For calibration of piston gauges, the NIST and customer piston gauges each generate a pressure, which is made equal by adjustment of small masses on the NIST gauge.
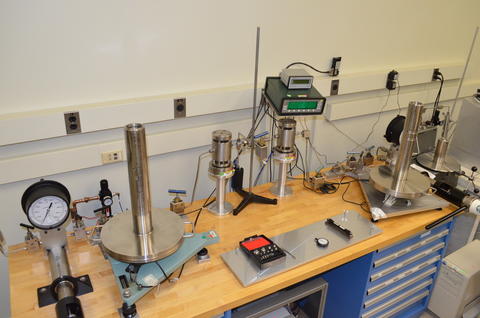
High Pressure Standards Laboratory
This laboratory houses apparatus for research and calibration at pressures above 10 MPa. Key equipment consists of:
- Controlled Clearance Piston Gauge Assembly
- Transducer Assisted Crossfloat (TAC) Assembly
Piston gauge standards for high hydraulic pressure use the "controlled clearance" method, in which an independent pressure is applied to the outside of the cylinder to minimize distortion. Cylinder distortion is a significant contributor to pressure uncertainty above 10 MPa. In this laboratory we are also studying methods to automate the piston gauge calibration process by using high-resolution electronic pressure transducers via TAC.
Contacts
-
PML webmaster

