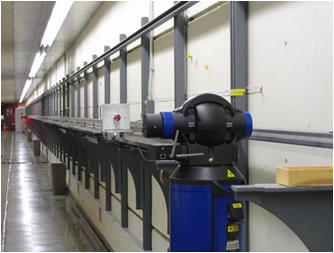
Ranging Tests for Laser Trackers

The Dimensional Metrology Group (685.10) provides high accuracy calibrations of laser tracker ranging systems and similar instruments. The test is performed by comparing the observed laser tracker ranging system displacement of a retroreflector to that measured by a frequency-stabilized helium neon laser interferometer traceable to the SI meter.
The Dimensional Metrology Group facility consists of an underground tunnel having 0.2 °C temperature control, with a measuring bench 61 meters (200 feet) in length. Additionally, precision temperature (0.01 °C), pressure and humidity corrections are applied to the laser wavelength over the beam line. The ranging system tests can be performed as described in the American Society of Mechanical Engineers (ASME) B89.4.19-2006 laser tracker performance evaluation Standard. Each calibration includes a NIST calibration report that provides the measured error and uncertainty for each displacement length.
Uncertainties
The expanded uncertainty U in the measured error with k = 2 is U (k = 2) = (5 + 0.3L) µm where L is the length of the displacement in meters.
Contacts
-
(301) 975-5863

