NIST Developed an SRM to Aid the Forensic Analysis of Firearms and Toolmarks
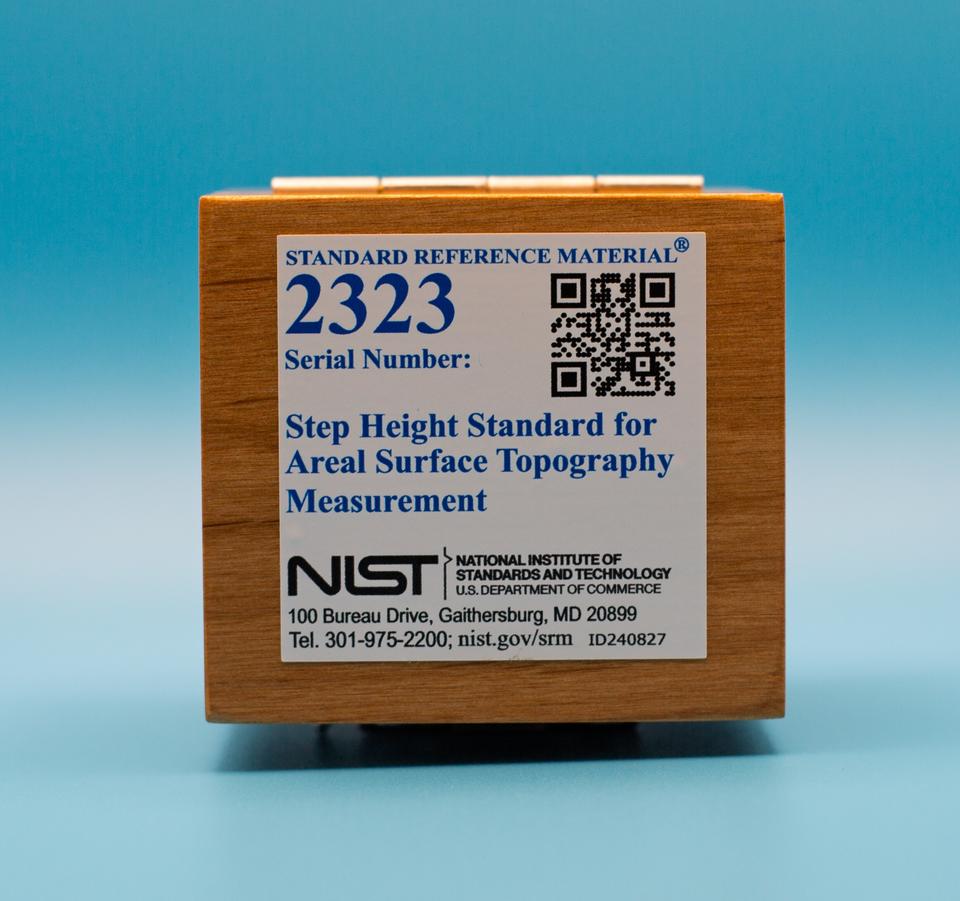
Standard Reference Material 2323 Step Height Standard for Areal Surface Topography Measurement

When a gun is fired, microscopic markings are left on the expelled bullet and cartridge case. Forensic firearm and toolmark examiners compare these markings to connect a firearm to ballistic evidence found at a crime scene. Forensic laboratories are adopting a new generation of instruments that enables measurement of the three-dimensional (3D) surface topography of these bullet and cartridge case markings. NIST developed an SRM that enables forensic laboratories to evaluate the accuracy of the instrument height measurements and establish traceability of measurement results.
A unit of SRM 2323 consists of an aluminum cylinder with three nominal steps of 10 µm, 50 µm, and 100 µm. The top of the cylindrical base is threaded to receive a nylon cap to protect the step height surfaces when not in use. A major challenge in developing SRM 2323 was the large variety of measurement instruments used in forensic labs, some having sample form factor limitations (i.e., they can only receive ballistic-related samples) and some with measurement surface limitations. To address the form factor challenge, the SRM was fabricated with dimensions similar to a shotgun shell. To improve measurability, the steps have a small level of roughness and are separated by sloped surfaces.
The critical surfaces of the SRM were machined using single-point diamond turning (SPDT), generating four adjacent pads that comprise the three certified step heights. The surfaces were etched to introduce a small degree of roughness. Calibration of the SRM 2323 step heights was completed using a commercial coherence scanning interferometry (CSI) microscope.
Learn More:
Stocker MT, Renegar TB, Soons JA, Griesmann U, Young SW, Stoudt MR, Yen JH (2024) Certification of Standard Reference Material 2323 Step Height Standard for Areal Surface Topography Measurement. (National Institute of Standards and Technology, Gaithersburg, MD), NIST Special Publication (SP) NIST SP 260-249. https://doi.org/10.6028/NIST.SP.260-249

