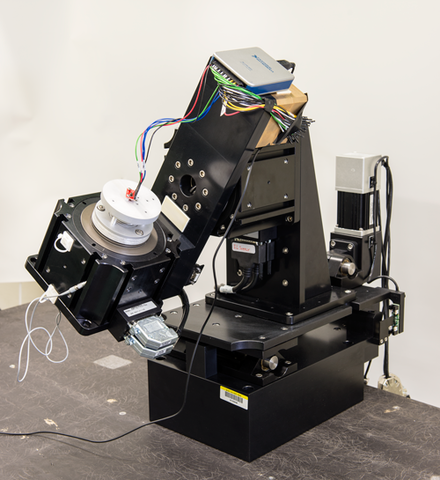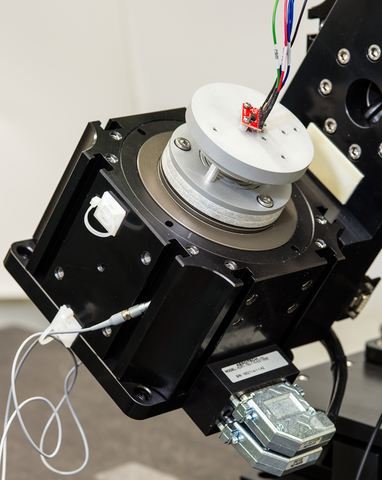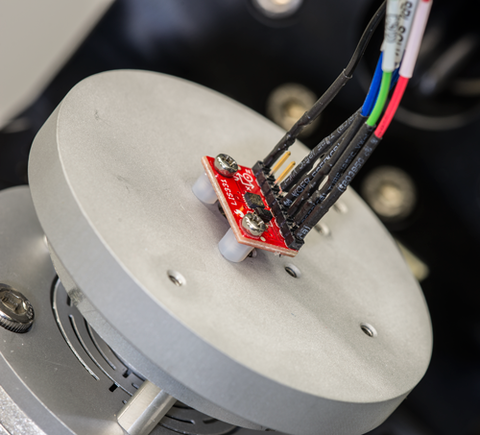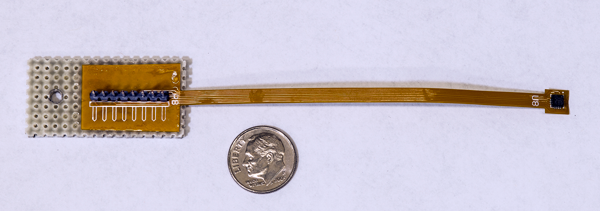
The goniometer-based instrument. The pivot arm is shown with a three-axis accelerometer mounted.
They activate airbags. Keep aircraft correctly positioned in flight. Detect earthquakes or sudden vibrations in failing machinery. Guide military hardware. Monitor falls in elderly individuals and initiate calls for help. They rotate the display on a smartphone from vertical to horizontal, and measure our exercise intensity and activity level in gadgets we carry or wear.
These and hundreds of similar tasks are performed around the world every day by accelerometers – sensors that respond to change in motion. They are fast becoming ubiquitous, and their components have shrunk to the micrometer scale. Increasingly, they measure acceleration along three orthogonal axes.
However, despite the growing importance of three-axis accelerometers, there are no standardized testing protocols for evaluating the performance of these microelectromechanical systems (MEMS).*
That's why NIST scientists, in consultation with the MEMS and Sensors Industry Group (MSIG) and the Institute of Electrical and Electronics Engineers (IEEE), are completing work on a new NIST test facility that can measure two properties of critical concern to industry: the responsivity of the units and the alignment of their three nominally orthogonal (mutually perpendicular) axes.
"MSIG worked with IEEE to develop standard definitions, published in 2014," says Michael Gaitan of NIST's Physical Measurement Laboratory. "Now the next step is: How do we test and evaluate their performance? If we're all measuring things in different ways, how do we know if we agree with each other? That's what we're leading here at NIST – going beyond the terminology standards, and adding the development of the testing protocols as well."

"As a result, an ecosystem of test labs, component device fabricators, and accelerometer manufacturers is emerging," Gaitan says. "That is an ideal opportunity for NIST to play a leading role, consistent with our efforts to provide standards and best practices that can enable everybody to measure the same properties in the same way."
That is the goal of the new test facility and data analysis method, which are optimized for three-axis accelerometers. The facility is based on a goniometer, an instrument for the precision measurement of angles. A swivel arm moves the test accelerometer through an entire sphere of angular orientation with respect to the local gravitational field, and the system records data at intervals.
PML scientist Jon Geist devised a method of extracting both responsivity and axis-orthogonality error from the output data. When they began making preliminary measurements on a few commercial accelerometers, some of the results were very surprising.
"For example," Geist says, "we found a 2-degree orthogonality error between two of the axes of one type of unit. But it wasn't where we expected it. These are planar devices, made in semiconductor fabrication facilities. So we assumed that we would see exact alignment on the [horizontal] x and y axes, and any misalignment on the z [vertical] axis. That's because often the z-axis component is a different device mounted in the same package. Well, it turns out that the unit's x-z and y-z alignments were extremely good, but its x-y alignment was not."

What the NIST researchers have found is that sampling and measuring only individual components may not identify all possible problems.
"Because these are MEMS devices, misalignments can occur in the course of assembly and the packaging process," Gaitan says. "Once you take the component devices off the wafer and start assembly, the package itself can create mechanical stress, which can lead to misalignment. That introduces an additional complication to quality control testing.
"But just conducting calibrations on individual units and then sending them back to the customer doesn't do anything to ensure industry uniformity. And it doesn't give us the feedback we need in order to give manufacturers what they need in the way they need it.
"So we're trying to get everyone to come to an agreement on how we should do this. With IEEE, with which are a working closely on these standards, what we envision in the long term is that NIST would not only provide a calibration facility to conduct intercomparisons among testing labs, but NIST might be part of a certification and accreditation program for test labs. That would entail developing standard testing protocols that could ensure uniformity in measurement. That's a capability that industry will need as production expands."
Karen Lightman, Executive Director of MSIG, explains that NIST is working with her organization "to develop standards for performance testing and communications protocols for MEMS and sensor technologies that are ubiquitously used in automobiles, healthcare/wellness products (such as wearables), and smartphones, as well as many other products important to the consumer. These standards reduce manufacturing costs and time-to-market to enable more efficient production of new technologies and applications that result in an annual production of over 1.4 billion units and sales of $400 billion in the global market for the smartphone alone.

NOTE: Any mention or depiction of commercial products within NIST web pages is for information only; it does not imply recommendation or endorsement by NIST.
* MEMS devices usually employ components made with the same kind of lithography, etching, and related techniques used in manufacture of integrated circuits on the micrometer and nanometer scale. In addition to accelerometers, MEMS are found in inkjet printer heads, medical pressure sensors, miniaturized radio-frequency communication, and optical switching to cite only a few.

