Official websites use .gov
A .gov website belongs to an official government organization in the United States.
Secure .gov websites use HTTPS
A lock (
) or https:// means you’ve safely connected to the .gov website. Share sensitive information only on official, secure websites.
Taking Measure
Just a Standard Blog
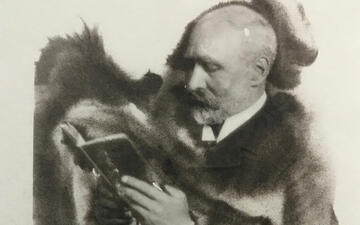
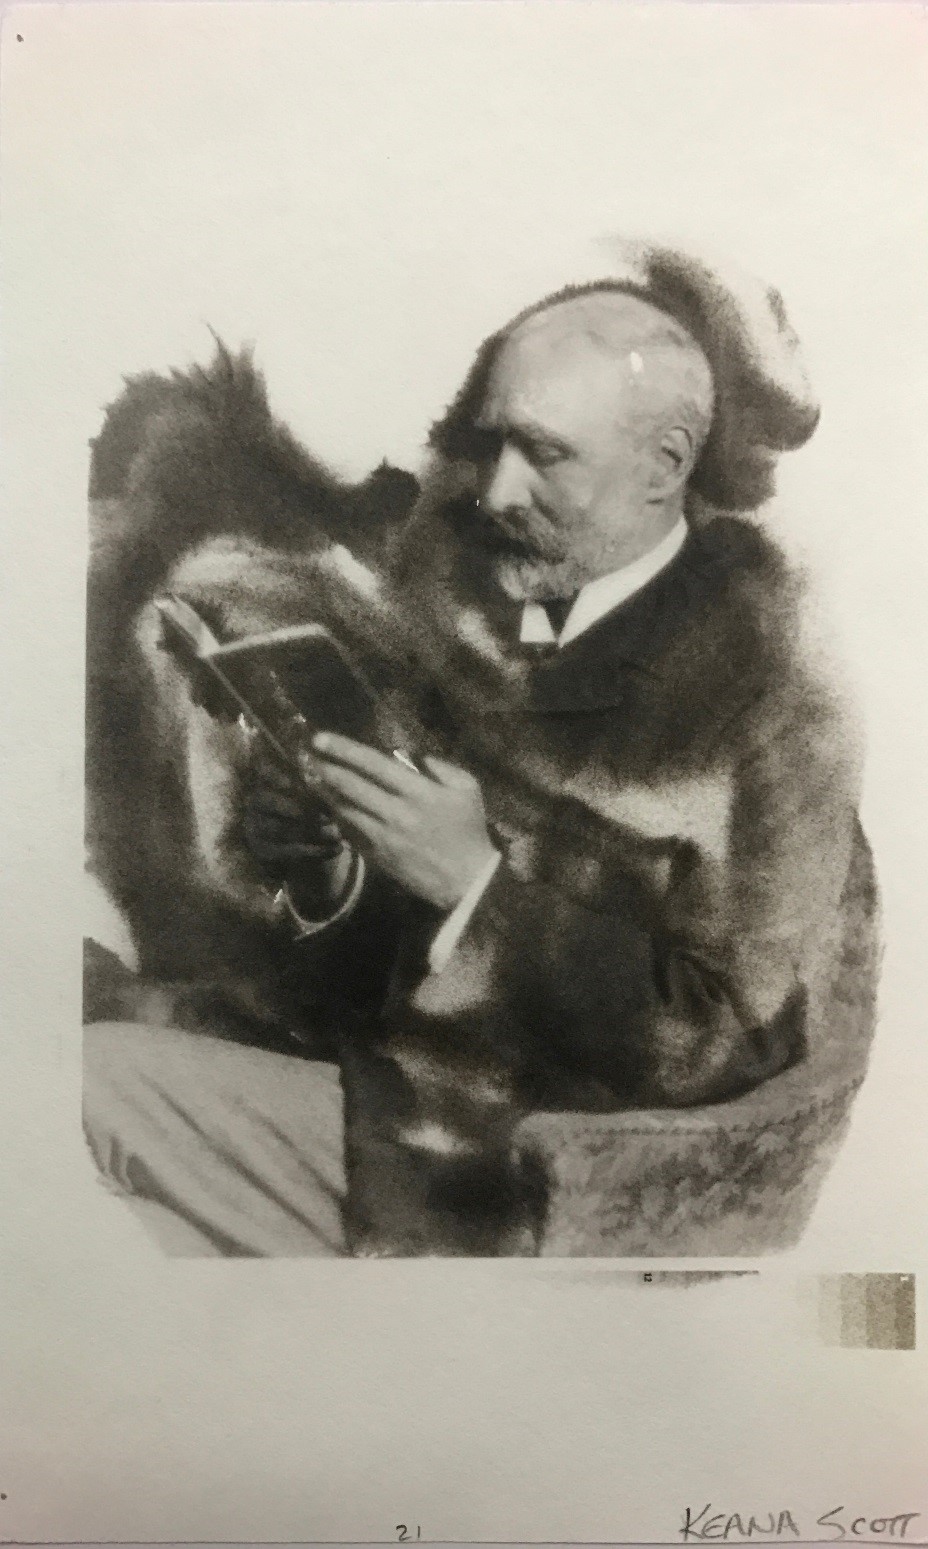
Platinum/palladium print portrait of William Willis, Jr. (1841-1923)
My mom is a painter, so I grew up in a messy house full of brushes, twisted tubes of paint, pots of ink, plaster busts of various Romans, rolls of papers, and shelves of art books. I remember spending many hours poring over the glossy pages of my mom’s art books and trying to imitate the drawings I liked. I got so good at drawing the profiles of Agrippa and Venus that they became my favorite things to doodle. However, whenever someone asked me what I wanted to be when I grew up, my answers were usually a doctor, an astronaut, a scientist—never an artist. For me, art was something I enjoyed in my free time and appreciated having around me at home. Something separate from my job as a scientist.
That changed when I first heard about a field called “conservation science” toward the end of my graduate career. According to Paul Whitmore, director of Aging Diagnostic Lab at the Institute for the Preservation of Cultural Heritage at Yale University:
[T]he most basic of conservation science activities is the examination and analytical study of the objects to be conserved, usually aimed at determining the constituent materials and methods used to construct an artifact.
As I was about to move to Washington, D.C., a place with a lot of museums and a huge art conservation community, this seemed like an ideal job for me. I was eager to learn more about art conservation as a career and explore my chances of getting into this wonderful field. Unfortunately, my Ph.D. in mechanical engineering is not the most suitable one for a conservation scientist, and I was not the only technically inclined art lover who found a career in art conservation attractive!
Today, I’m a physical scientist at the National Institute of Standards and Technology (NIST). My work is focused on characterizing materials at the scale of nanometers, or billionths of a meter. Simply put, I look at different things in minute detail so I can understand why some materials behave or interact with other materials the way they do. I’m sure many of you have seen the images of highly magnified multifaceted bug eyes or human hair showing the detailed scale patterns of the cuticle. Now imagine looking at things a hundred times smaller like the various organelles within an individual cell.
That’s where my domain begins.
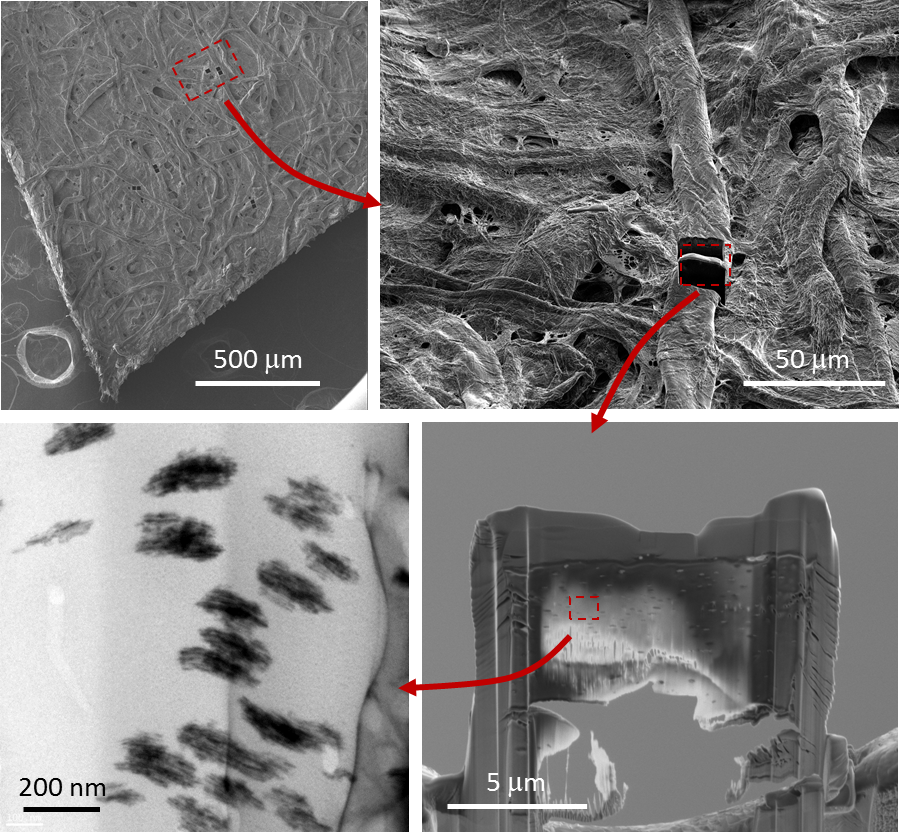
My tool of choice is an instrument called a focused ion beam scanning electron microscope (FIB SEM). A FIB SEM lets you remove a thin layer of material, less than one-thousandth of the thickness of a strand of the average human hair, from your specimen and image it at a high resolution. By repeating this process, you can reconstruct the three-dimensional structure of things. You can also examine the details of that thin layer at even higher magnifications using another instrument called a transmission electron microscope (TEM).
While I think the images I take of my samples can be artistic, I don’t have that many chances to work with real art, so I was delighted when Matthew Clark from the National Gallery of Art (NGA) called and asked if I would be interested in collaborating with him on a project involving platinum and palladium (Pt/Pd) photo-printing processes.
Part of a larger effort in photograph conservation at the NGA, the project focused on exposing the impact of temperature and humidity on photos made using these techniques, which were popular in the late 19th and early 20th centuries because of their wide tonal range (range of tones between the lightest and the darkest area of an image) and the warm, sepia-like color tones they produced. Matthew and his team were interested in understanding how these prints are made and what caused the changes in their contrast and quality so they could design ways to prevent further damage to Pt/Pd photographs.
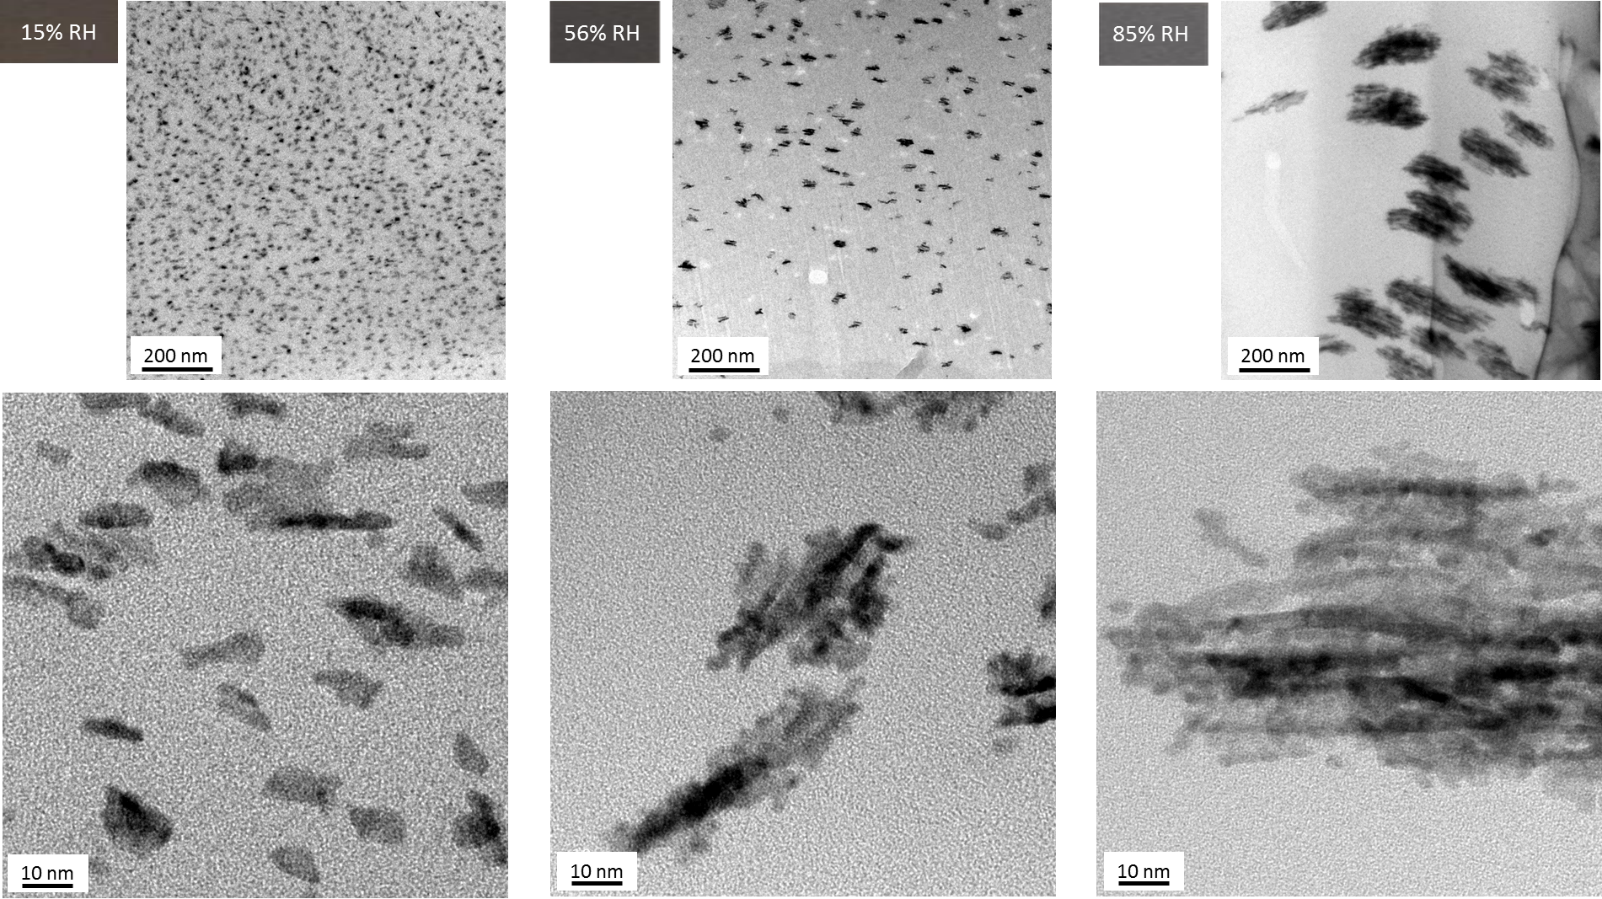
To see how humidity affects the appearance of Pt/Pd prints, we examined samples that we made and processed at three different humidity levels. Our initial SEM imaging of the print surfaces showed that, as the humidity increased, so did the concentration of large (in my world), roughly 500 nanometer-diameter, Pt/Pd particles on the surface of the paper. We also noted that there were particles embedded in the paper’s fibers that—at a few tens of nanometers—were too small for even the FIB SEM to clearly make out.
When we analyzed our three prints using a TEM, we found that, while the larger particles we saw on the surface varied in concentration but not in overall size, the Pt/Pd particles in the paper fiber were actually made up of smaller, approximately 5-nanometer particles that clearly had clumped together to create larger particles of various sizes. We observed that the particle clumps became larger as the humidity at which they were processed increased. This means that the higher the humidity the more the Pt/Pd photoproducts were able to move during printing, which allowed them to come together and form larger particles. This agreed with how we expected the particle sizes to affect the tonal appearance of the prints, with smaller particles yielding browner tones and larger particles appearing blacker.
Our results will appear as a technical highlight in an upcoming book “Platinum and Palladium Photographs: Technical History, Connoisseurship, and Preservation”; however, many more questions about Pt/Pd prints remain to be answered. For instance, we’d like to know if there are subtle compositional differences in prints developed under different conditions. What drives the unusual tonal contrast we see in Pt/Pd prints? What are the difference between the Pt/Pd printing process and other printing processes, silver halide, for example, at the nanoscale, and how do those differences affect the print tones?
I look forward to helping to answer these questions and to my continued collaboration with Matthew, now at the Smithsonian Institution, my colleague Alline Myers from NIST who did the TEM imaging, and others at the NGA and the Smithsonian.
It’s been great having the opportunity to (finally) combine my interests in art and science.