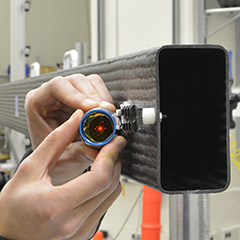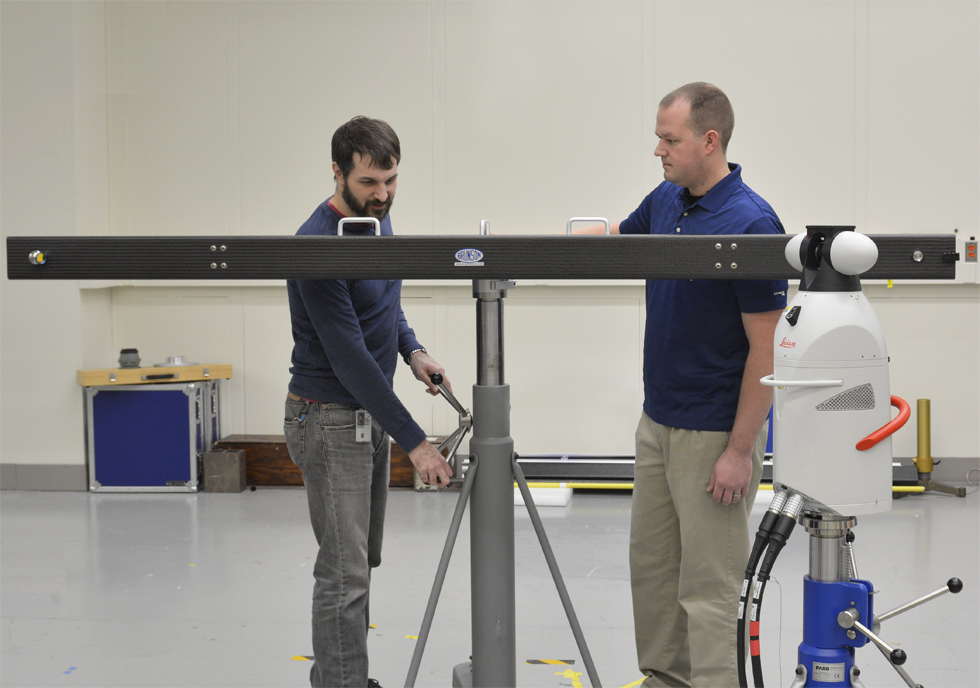
Adjusting the laser target tracker on the prototype length artifact, a hollow carbon-fiber beam approximately 2.5 meters long.
A collaboration between NIST researchers and a private-sector firm has led to development of a commercial device to fill a critical need in industry: field verification of laser tracking systems.
Laser trackers* are state-of-the-art instruments capable of measuring the dimensions of objects as large as ≈120 meters in length to high accuracy and with uncertainties as low as 60 µm – about half the width of a human hair. Laser-tracker measurements are responsible for ensuring the functionality of millions of dollars in products each day, and are used, for example, in precision measurement of the size, shape, and alignment of aircraft wings during assembly. Performance testing of the tracker systems, which can cost in the neighborhood of $200,000, is difficult because it requires long, high-accuracy, portable reference artifacts that retain their exact dimensions and characteristics over multiple sites and uses.
Thanks to a successful interaction between NIST's Engineering Physics Division and Brunson Incorporated, a U.S. manufacturer of metrology equipment, such an artifact – the first of its kind – is now a reality. It was designed based on collaborative research with NIST engineers, led by Daniel Sawyer, pursuant to a Cooperative Research and Development Agreement (CRADA). Brunson Incorporated provided the funding, product design, and manufacturing, and PML provided state-of-the-art measurement expertise.
The product is intended to perform the "NIST Interim Field Test" – a short, yet comprehensive, test to ensure that a laser tracker is working properly before critical measurements are performed in the field. These tests are developed using NIST's instrument error models and simulation tools to optimize test information, while minimizing testing costs. Because laser trackers are mobile, the state of health of the instrument should be checked each time they are used.
The artifact "is the first of its kind with its uncertainty level," says Sawyer, "which is very difficult to maintain in the field where these instruments are used. For example, users could be in an airplane hangar making a measurement. They aren't sitting in a laboratory like I am, testing for seven days. But they still need a set of tests that are very sensitive. They need an artifact—a traceable reference—so they can perform the test in an economical way and add value to the customer."
The artifact is a rigid carbon-fiber structure more than two meters long. It has a special design that allows it to be calibrated in the field at the time of use by using a specific mode of the laser tracker and is kinematically supported to keep its length constant throughout the different measurement positions called for in the interim field test.
"Those things are very difficult to build," Sawyer explains. "Long-length artifacts have some very complicated behaviors that make them very difficult to design so that the calibrated dimension is maintained. They warp. They bend. So, over the course of several years, we've developed and published some breakthrough understandings describing how these long-length artifacts behave and providing a new methodology for their design and implementation."
On the commercial product, a laser tracker target is positioned on each end and in the middle of the artifact. A rigid tripod is available that allows the unit to be held horizontally, vertically, and diagonally to perform an interim check of the laser tracker measuring system. The interim check is sensitive to common errors in the tracker's physical construction that cause measurement errors in these systems.
NIST invented the first laser tracker in 1987, and since then has continued research in measurement applications, standardization, uncertainties, and testing. This commercialized product is the latest of many significant achievements in improving the understanding, and therefore the functionality, of laser trackers.
"NIST has identified large-volume manufacturing as a key technology area," Sawyer explains. "Large-scale metrology is one of the few U.S. manufacturing industries that's still a huge net export. We export airplanes, cars, jet engines, electric generators, earth-moving equipment. NIST actually has a grant program out for people to roadmap this industry."
Large-volume measuring instruments such as laser trackers are critical to this area of manufacturing. But early models of trackers did not account for major sources of error associated with their angular measuring accuracy. NIST was involved as early as the 1990s, quantifying this error source and working with manufacturers to develop solutions to completely remove it. This discovery is credited with improving the accuracy of all trackers manufactured in the U.S. today.
In 2000, NIST started a developmental effort to design a long-length testing system to evaluate its proposed laser tracker standard procedures. An artifact of approximately 2 m in length was needed as part of this system. Laser trackers presented a challenge because their work volume can be the length of a football field. Testing these instruments required an artifact of 2 m to 3 m in length with dimensions that are more accurate than the tracker, is configurable in a number of different orientations, and maintains its calibrated reference length – with an uncertainty below a few micrometers. Developing the artifact allowed NIST to design tests that captured all of the errors in the laser tracker system.
Ultimately, NIST created the world's most accurate laser tracker performance evaluation system, which was used to validate the proposed test in the draft ASME B89.4.19 standard. The system design and performance is documented in a publication. Once completed, the U.S. Navy had NIST build and deploy an identical system at their facility in Naval Surface Warfare Center, in Norco, CA.
This high accuracy system developed in the early 2000s was an attractive solution for engineers and scientists who test trackers, but it was more sophisticated than necessary to perform a field test to verify tracker performance. These interim field tests don't require the lowest uncertainty measurements; they need uncertainties in the range of tens of micrometers in an artifact that is easy to transport to the shop floor, out on tarmacs and hot assembly lines, and to other challenging measurement environments. Now such an artifact exists.

* Laser tracking systems typically consist of a laser beam/detector unit on a fixed mount, and a reflective laser target/tracker that is attached to critical points on the object to be measured. When the target moves, it changes the angle at which the laser beam is reflected back to the detector. The change in angle is a sensitive measure of displacement.
NOTE: Any mention or depiction of commercial products or organizations in this report is for information only; it does not imply recommendation or endorsement by NIST.
Reported and written by Erik Secula

