Image output from a 3D laser scanning measurement system.
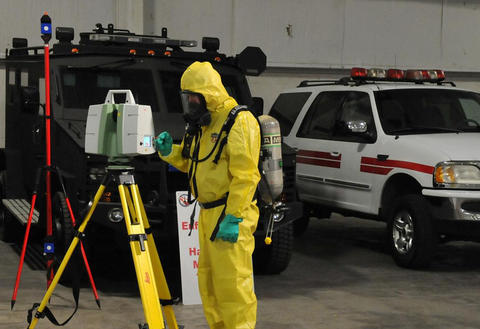
Three-dimensional (3D) scanners used at crime scenes for forensic investigations are not just the stuff of prime time television. Investigators and crime laboratories are using 3D laser scanning measurement systems to measure and model, in 3D simulations, the critical aspects of crime scenes.
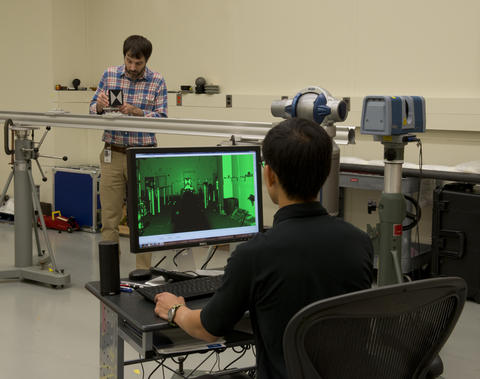
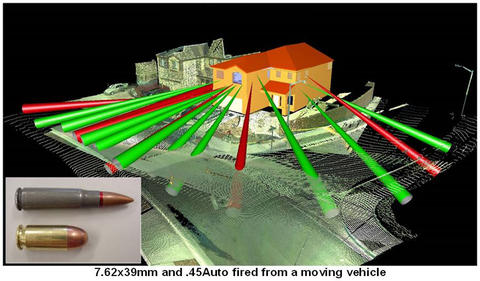
A 3D laser scanning measurement system has a motorized swiveling head that sweeps a 632 nm wavelength laser beam over an entire room or outdoor scene, capturing up to a million measurements per second. A panoramic image is output with a 3D data visualization that reproduces the dimensions of the area. These data are then used to identify bullet trajectories, victim positioning and orientation, witness viewpoints, etc., with high accuracy and speed.
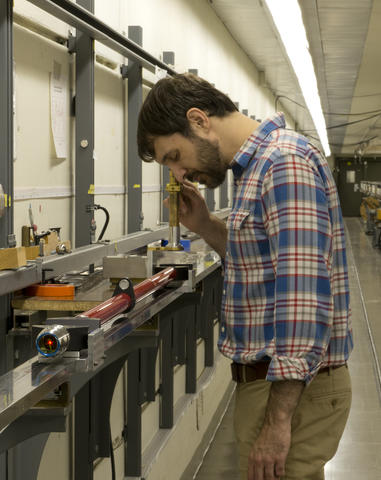
In the typical use of a 3D scanner, investigators will position a length artifact in the scene to be scanned along with everything else. The length of the artifact is a known value, and the measured value is compared with the known value in the field to test if the instrument is working correctly before critical measurements are performed.
"They take a complete 3D scan so that later they can go back and query this data to see, for example, how far this wall is from where this person is standing over here," describes Christopher Blackburn, a key member of the PML team involved in dimensional measurements. "There are points in space, and each point is an X, Y, Z coordinate. So you can query the distance from any combination of different points. You have the whole thing captured."

The 2009 National Academy of Sciences (NAS) report "Strengthening Forensic Science in the United States: A Path Forward" questioned the reliability of some forensic sciences including the use of this 3D scanning technique. Furthermore, pressure began building in the forensics community to have crime laboratories and/or stand-alone crime scene units in the United States adhere to specific standards in their services, which require traceability to the SI.
This challenge was brought to PML thanks to the efforts of Robert Thompson from NIST's Law Enforcement Standards Office. Aware of the research in the Dimensional Metrology Group of PML's Semiconductor and Dimensional Metrology Division, Thompson arranged for the Group to get in touch with Leica Geosystems, a major manufacturer of 3D laser scanning instruments.

"This artifact can now be put in the crime scene so the investigators can get a length reference to test the instrument before measurements are performed," explains Blackburn. "This helps establish traceability back to the SI for the evidence they'll be presenting in court."
These NIST-calibrated artifacts, which help provide traceability, have been a tremendous boost for Leica Geosystems, which has increased sales and their workforce:
"From a job creation standpoint, the Leica Public Safety Group has grown from one to five employees in the past few years," explains Tony Grissim of Leica Geosystems. "Sales of our ScanStation laser scanners are at an all-time high and part of the reason is due to the successful collaboration with NIST to create the tools needed for quality control as required by ISO 17025. The economic benefit also trickles down to Leica's U.S.-based suppliers of the accessories which make up our total solution."

The service that PML is providing has been so well received that even individual law enforcement agencies are sending their length artifacts directly to NIST for calibration—ensuring that the instruments are performing as specified before critical crime scene measurements are performed in the field.
"It's a good feeling to know that the measurements we provide are increasing the reliability of forensic evidence, creating jobs and helping U.S. industry grow and meet customer needs," summarizes Daniel Sawyer, the team's Project Leader. "What more could you ask for?"

