Inspection
Inspection
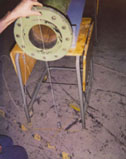
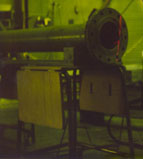
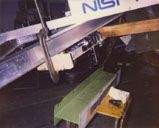
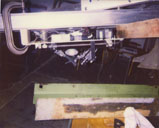
Sensors can be mounted on the RoboCrane platform and maneuvered in six degrees-of-freedom for a variety of applications. These photo's show a pipe flange being set-up (a) and scanned (b) to provide a simple 2-D image (c) of the part (flange). By manipulating the RoboCrane platform/line-scanner, 2-D images can be combined to provide a true 3-D image of the part since the platform position and orientation are known as well as, the premeasured line distance to the part. This RoboCrane platform resolution is approximately 1 mm and can be maneuvered throughout a work-volume of approximately 70 cu. m. Another RoboCrane prototype was tested to provide an over 60,000 cu. m. work volume at similar resolution. Therefore, very large objects can be inspected accurately for data recollection/processing. The Brigham Young University line-scanner used here is shown in (d) and (e) photo's. The scanner and laser-line are shown in (f) as an I-beam is being scanned.
(Click on the photo's for larger images)


